An outdoor kitchen is a fantastic way to enhance your garden space, making it the perfect hub for entertaining family and friends. Whether you prefer a hands-on DIY approach or a professionally installed setup, this guide will help you create the perfect outdoor cooking and dining experience.
Step 1: Planning Your Outdoor Kitchen
Before jumping into the build, consider these key factors:
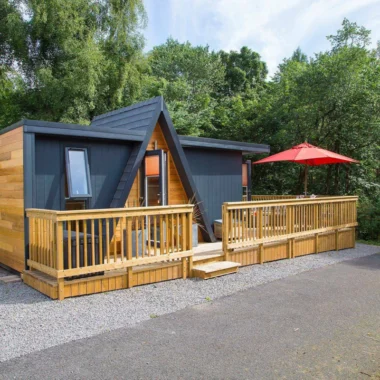
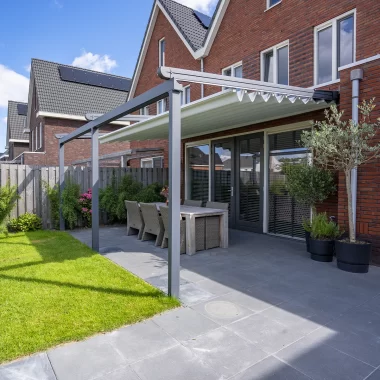
- Location: Choose a spot with good ventilation, shade, and easy access to your indoor kitchen.
- Budget: Decide how much you want to invest, factoring in materials, appliances, and labour.
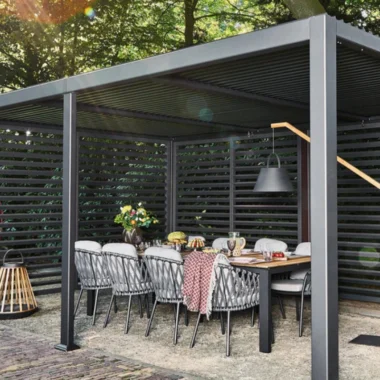
- Design: Sketch a layout that includes cooking, prep, and dining areas.
- Materials: Opt for durable, weather-resistant materials such as stainless steel, stone, or treated wood.
Once you have a solid plan, you can decide whether to go the DIY route or hire professionals.
DIY Outdoor Kitchen: Building It Yourself
If you love hands-on projects and want to save money, a DIY outdoor kitchen is a great choice. Here’s how to tackle it:
1. Create a Sturdy Base
Start with a level, solid foundation such as a concrete slab or paver patio. This will support the weight of your kitchen and ensure longevity.
2. Frame the Structure
Use pressure-treated wood, metal studs, or concrete blocks to build the framework. Ensure it’s strong enough to support worktops and appliances.
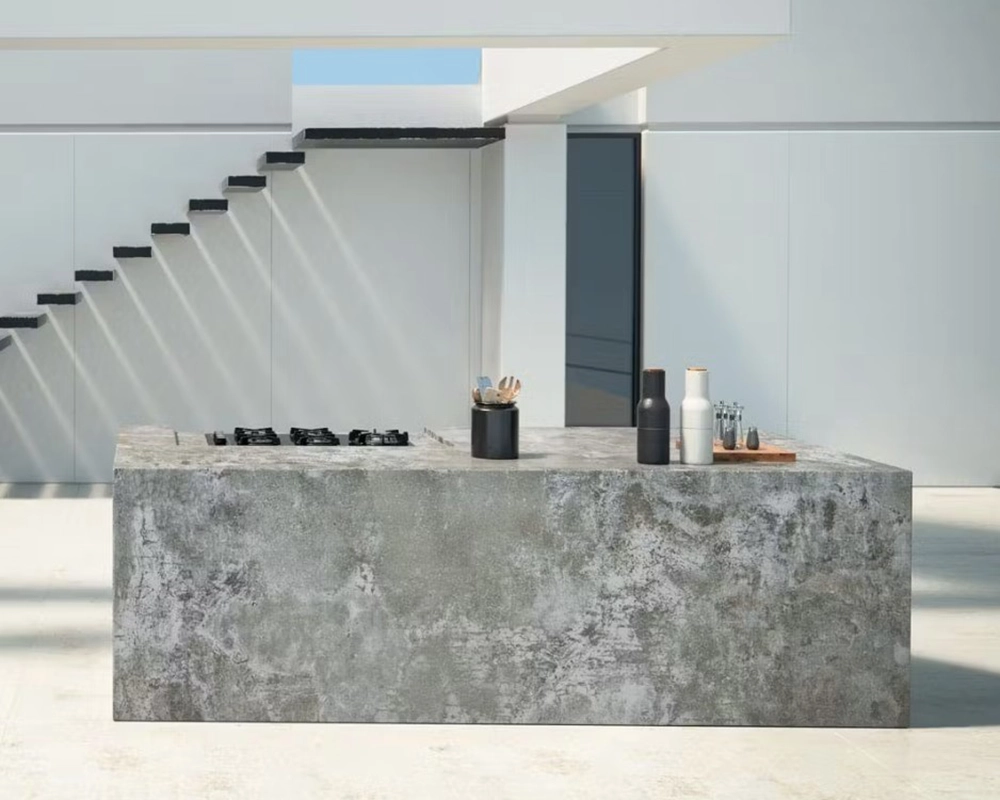
3. Choose Worktops and Cladding
Install durable work surfaces such as granite, concrete, or stainless steel. Clad the frame with brick, stone, or weatherproof panels for a stylish finish.
4. Install Appliances
Include essentials like a BBQ grill, side burners, a sink, and storage cabinets. Ensure gas, water, and electrical connections are safely installed.
5. Add Finishing Touches
Enhance the space with lighting, seating, and weather-resistant décor to create a welcoming atmosphere.
Pros of DIY:
- Cost-effective
- Customisable to your preferences
- Satisfaction of building it yourself
Cons of DIY:
- Time-consuming
- Requires skill in construction and plumbing
- Potential for costly mistakes
Professional Installation: Hassle-Free & High-Quality
For a polished, long-lasting result, hiring professionals is the best option. Here’s what to expect:
1. Consultation & Design
Experts will assess your space, discuss your needs, and create a custom design that fits your style and budget.
2. High-Quality Build
Professional installers use premium materials and ensure all plumbing, electrical, and gas work meets safety standards.
3. Seamless Integration
A professional installation will blend seamlessly with your outdoor space, adding value to your home.
Pros of Professional Install:
- Expert craftsmanship
- Faster completion time
- Guaranteed safety and durability
Cons of Professional Install:
- Higher cost
- Less flexibility for last-minute changes
Final Thoughts
Whether you choose the DIY approach or a professional install, your outdoor kitchen should be functional, stylish, and built to last. With the right planning and materials, you can transform your outdoor space into a cooking paradise perfect for hosting memorable gatherings.
Would you go DIY or hire a pro? Share your thoughts in the comments!